
GST Login: Step By Step Guide on How to Login on Government GST Portal
- December 31, 2019
- Posted by: Editorial Team
- Category:
As you know, the official government GST (Goods and Services Tax) portal, which is https://www.gst.gov.in, presents a multiple of features that allow a smooth and efficient experience. It is the official Internet portal of the government of India for easy and quick GST login, GST filing, GST registration, GST refund tracking, grievances, notices, other compliances related to GST and for the purpose of finding miscellaneous information about GST. The website is developed, maintained, and updated with the aid of GSTN (an authority that is constituted to be responsible for the implementation of GST in India).
Basically, GST or the Goods and Services Tax features as an indirect tax system and is thus, made relevant in all the states of India. The introduction of this tax system has thus, replaced all the different taxes and norms which were levied in India in the past.
The Act got through in the parliament on March 29, 2017, and became a regulation on July 1, 2017. This type of taxation system is now applied to all kinds of commodities as well as services that are rendered to any individual or business in the country, as the call implies. Also, every different types of taxes which were previously levied by the government, both at the center as well as the state level, such as those that are listed underneath, were exempted and terminated as soon as the new taxation system was merged all together to form the now-called “Goods and Services Tax (GST).”
The various taxes that are now no longer in existence are listed as under:
- Value Added Tax (VAT)
- Services Tax
- Entry Tax
- Central Excise Law
The most important goal for taking such an initiative is to have the entire country brought underneath a single taxation regulation and make the economy of every state unified by doing away with the system of taxation in different states that was done separately. This flow has additionally been hailed as one in a good way to assist in improving the overall increase in our economy.
The GST login portal is the way to get entry to the exceptional functionalities that comes underneath the new GST regime, and the GST portal facilitates this by merging everything underneath a single roof.
Step by Step process to login on Government GST Portal of India
The GST login portal can be easily accessed by visiting the official website https://www.gst.gov.in. You just have to register once on this portal and most of the tasks concerning the GST are taken care of here without any hassle. Everything from registration to applying for funds can be quickly done through this portal. It has helped make the lives of people everywhere in the country and has also made it a lot simpler. Even the filing of the return statements can be done using this portal, which allows streamlining several procedures by changing the tactics into virtual ones that may be easier than offline ones.
Given below is a step-by-step guide on how to successfully GST login to the official portal of government of India and you will experience the usefulness of this portal whenever you need it.
In order to login to the GST portal, make sure that you have registered already, as you are going to need your registration details to sign in into the GST website. The steps for registration are covered in the latter part of the guide.
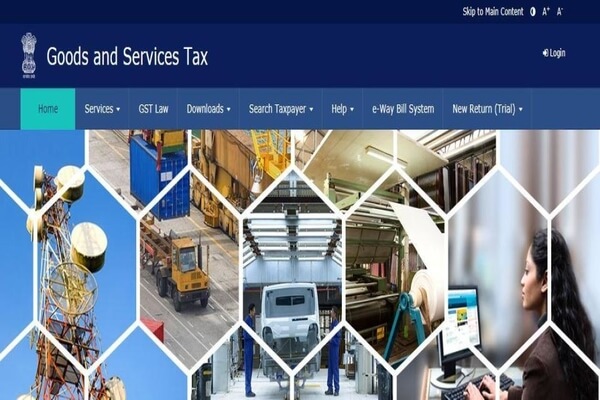
1. Type https://www.gst.gov.in/ on your web browser’s top URL bar, or in the search box and click the appropriate link to navigate to the official GST website of the government of India. You will be redirected to the login page.
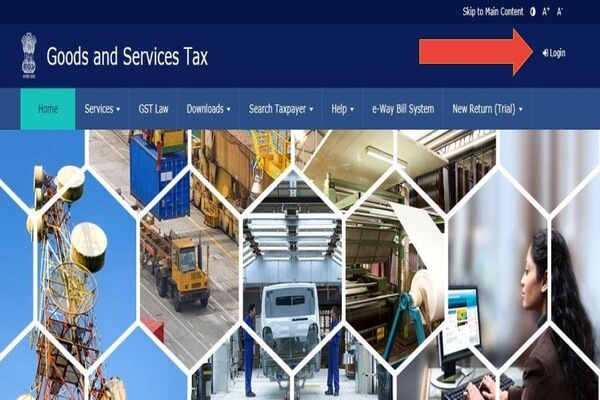
2. Just click on the Login button on the home page.
3. After clicking on the Login button, you will need to enter your username, password, and Captcha code. After this, click on the Login button to proceed.

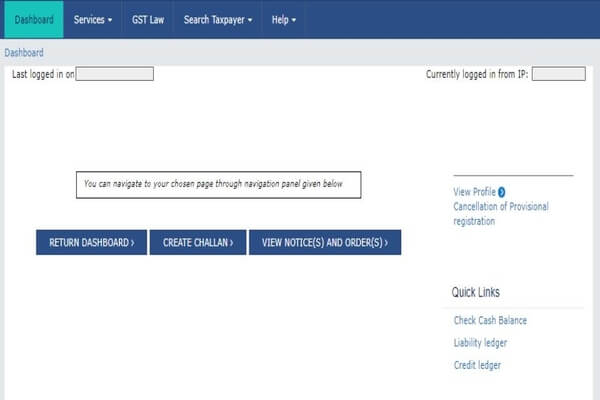
4. On a successful login, the next screen will take you to the Dashboard page.
How to Register On the Government GST Portal
The registration application for a normal taxpayer, composition, casual taxable person, Input Service Distributor (ISD), SEZ Developer and SEZ Unit is the same.
Below is a step-by-step guide on how to get registered or sign in into the GST portal. To register on this platform, here is what you need to do:
- Go to the link https://www.gst.gov.in/. The GST home page will be displayed on your web browser.
- Next, click on the Services tab, then select Registration and click the New Registration option.
Note: Alternatively, a direct link for online GST registration is: https://reg.gst.gov.in/registration/.
The registration process will be completed in the following two parts:
PART-A
- After clicking on the New Registration button, the user registration page will be displayed, where you are required to fill certain details.
- After you have provided all the necessary details, click on the Proceed button. You will be automatically redirected to the OTP page, where you will receive a temporary password. Enter the OTP received on both mobile as well as e-mail and proceed with the account verification.
- After having successfully submitted details for Part-A, in the next step, a Temporary Reference Number (TRN) will be automatically generated for you, which is required for filling Part-B.
Note:- TRN can be accessible up to 15 days from the day it has been generated.
Part-B:
- Go to the link https://www.gst.gov.in/. The home page of the GST website will be displayed on your web browser.
- Now, go to the Services tab, then select Registration and single-click on the New Registration option.
- Next, choose “Temporary Reference Number (TRN)”. Enter TRN generated and Captcha code.
- After entering the required details, click on the Proceed button. A next screen will appear for OTP verification, which will be sent to your mobile and e-mail.
- When you click the Proceed button, the My Saved Application page will be displayed, which can be viewed on your Dashboard. You have to click on the Action button to proceed further.
Note: On the top of the page, about ten tabs will appear labeled as Business Details, Promoter/ Partners, Authorized Signatory, Authorized Representative, Principal Place of Business, Additional Places of Business, Goods and Services, Bank Accounts, State Specific Information, and Verification. Click on each tab in order to fill them with the necessary details provided by you.
6. Once you have entered all the required information, you need to click on the Proceed button again. You will now be able to submit your application through the following options:
- A- With DSC
- B– With E-Signature
- C- With EVC
Note: DSC is compulsory for companies and LLP (Limited Liability Partnership).
After the successful submission of Part-B, an ARN No. will be generated for you that will help you in tracking the status.
How to Track Registration Application Status
Here are the steps to track your registration application on the government GST portal:
- Go to the link https://www.gst.gov.in/. The official home page of the GST website of the government of India will be displayed on your web browser.
- From here, go to the services tab, then select Registration and click on the Track Application Status option.
- Here, you are required to enter the ARN No. which is sent to your e-mail address when you submitted the registration application.
- Afterward, you have to enter the Captcha code as shown on your screen.
- Click the Search button.
The Track Application Status information will be displayed on your screen.
Documents Required
- PAN Card
- Aadhaar Card
- Business registration certificate
- Certificate of Incorporation
- Address proof of Directors
- Statement of Bank Account
- Digital Signature
- The registration process will then be completed:
- Once the form is filed, an ARN Number will be allotted to you.
- This number might be used for log in to the GST portal to track the registration.
- The applicant can only view the status of the application.
- After the application is approved, a unique 15-digit code will be allotted Know as GSTIN this probably be used for future logins.
- The password for the above will be sent to the user’s registered e-mail address.
- The user can then change his or her ID or password as per his or her wish.
Who Should Register for GST
- Individuals who are required to pay taxes, such as Excise, VAT or Service Tax
- Businesses that earn more than Rs. 40 Lakhs in a year
- Individuals that fall under the casual taxable roof
- Dealers/agents and distributors
- Individuals and business that fall in the taxation system based on reverse charge mechanism
- E-commerce business owners/aggregators
Major Benefits of GST Tax System
- Voiding of Multiple Taxes
- Reduction in Cascading effect of Taxes
- The flow of Input Tax Credit
- Reduced level of tax evasion
- Reduction in tax corruption
- Dissipation of state boundaries
- Level playing ground for business ventures
- Boost to consumption heavy states
- Technology-driven change
- Transparent and efficient system
Services Available
- Registration for GST
- Application for GST Practitioner Scheme
- Composition Scheme Opt-in and Opt-out Options
- Stock Intimation
- File Returns
- GST Payment
- Export Refund Filing
- Claim Refunds
- Obtain Letter of Undertaking
- Transition Form Filing
- Look into E-Ledgers
- Change fields
- Track and View Received Notices
- ITC Form Filing
- Apply for or Exit from the GST Practitioner Scheme
Conclusion
The GST Portal will help users bridge the gap between the agency and customers and will serve as a useful online utility that will assist individuals in accessing these functions in a more efficient manner. The Goods and Service Tax Network (GSTN), which serves as the backbone of the portal, allows this interaction between taxpayers and the Indian government.